How to Book Hikes in Madeira and Pay Trail Fees Using SIMplifica
Madeira has several so called “PR” routes (Percursos Pedestres Classificados), consisting both in traditional levadas and lesser well-known paths, the veredas. If you’re coming to Madeira, it’s likely you’ll want to hike at least one of them. And, since January, all of them require booking and payment for non-residents.
But how do you book and pay for levadas now? Using the SIMplifica portal.
Ironically, simplifica means “simplify”. However, very few visitors find the system easy to navigate. I hope this step by step guide on how to book hikes using SIMplifica makes it simple for you!
Step 0: Before you pay anything, check if It’s Open
Is the trail open today?
Madeira trails close often due to poor weather or landslides. So, before you book, check the official trail info/status page (IFCN / Visit Madeira). I’d recommend booking only on the day (or the day before) to ensure it will be open.
If you book ahead and the trail is closed, you can reschedule or cancel your booking. However, I do not have first hand experience with this. To avoid any issues, I recommend booking as close to the date as possible.
Step 1: Go to the SIMplifica Website
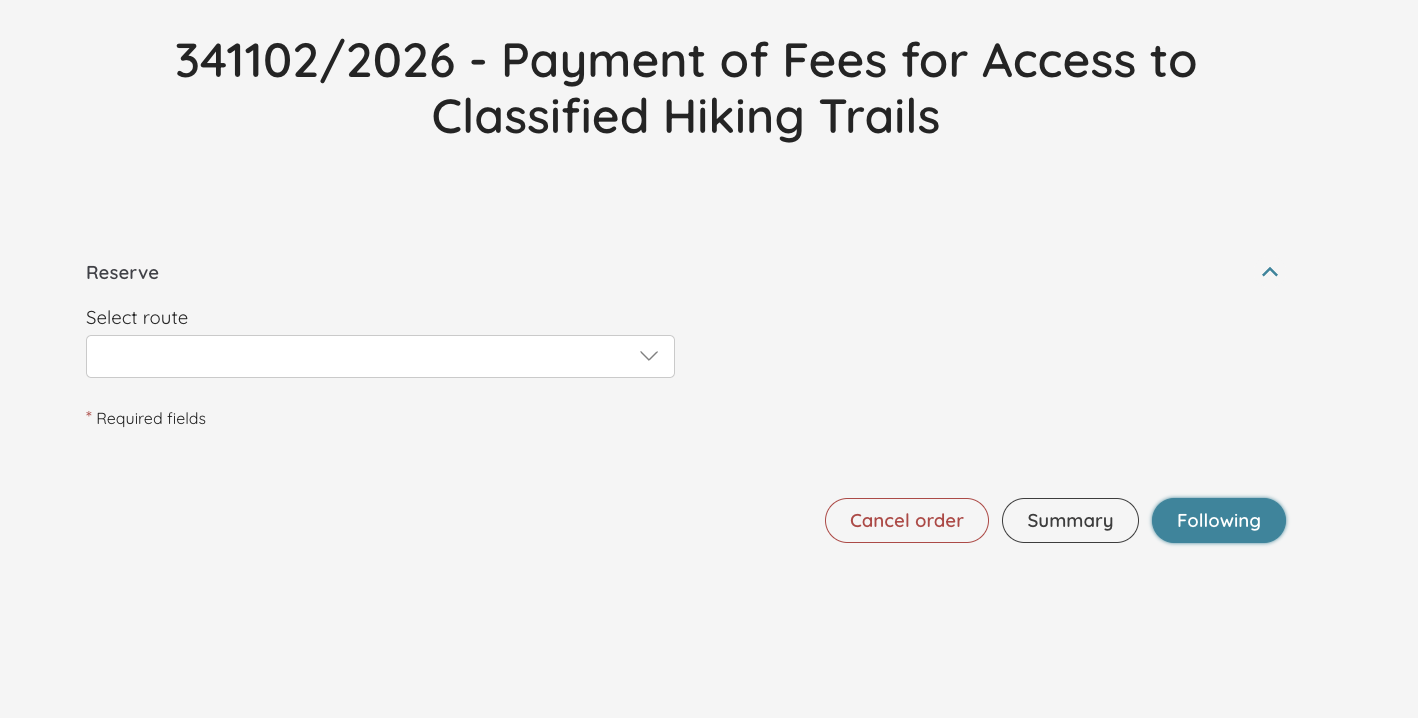
To book and pay for trails in Madeira, the page you’re looking for is this: SIMplifica Madeira. (If you’re on the homepage, you need to click on “Ticketing” [EN version] or “Bilhética” [PT version] and then click on “Payment of Fees for Access to Classified Hiking Trails”).
There are additional pages to pay for the Cabo Girão viewpoint (also known as the Cabo Girão Skywalk, with a glass floor 400 meters above the ocean) and the Santo António da Serra farm.
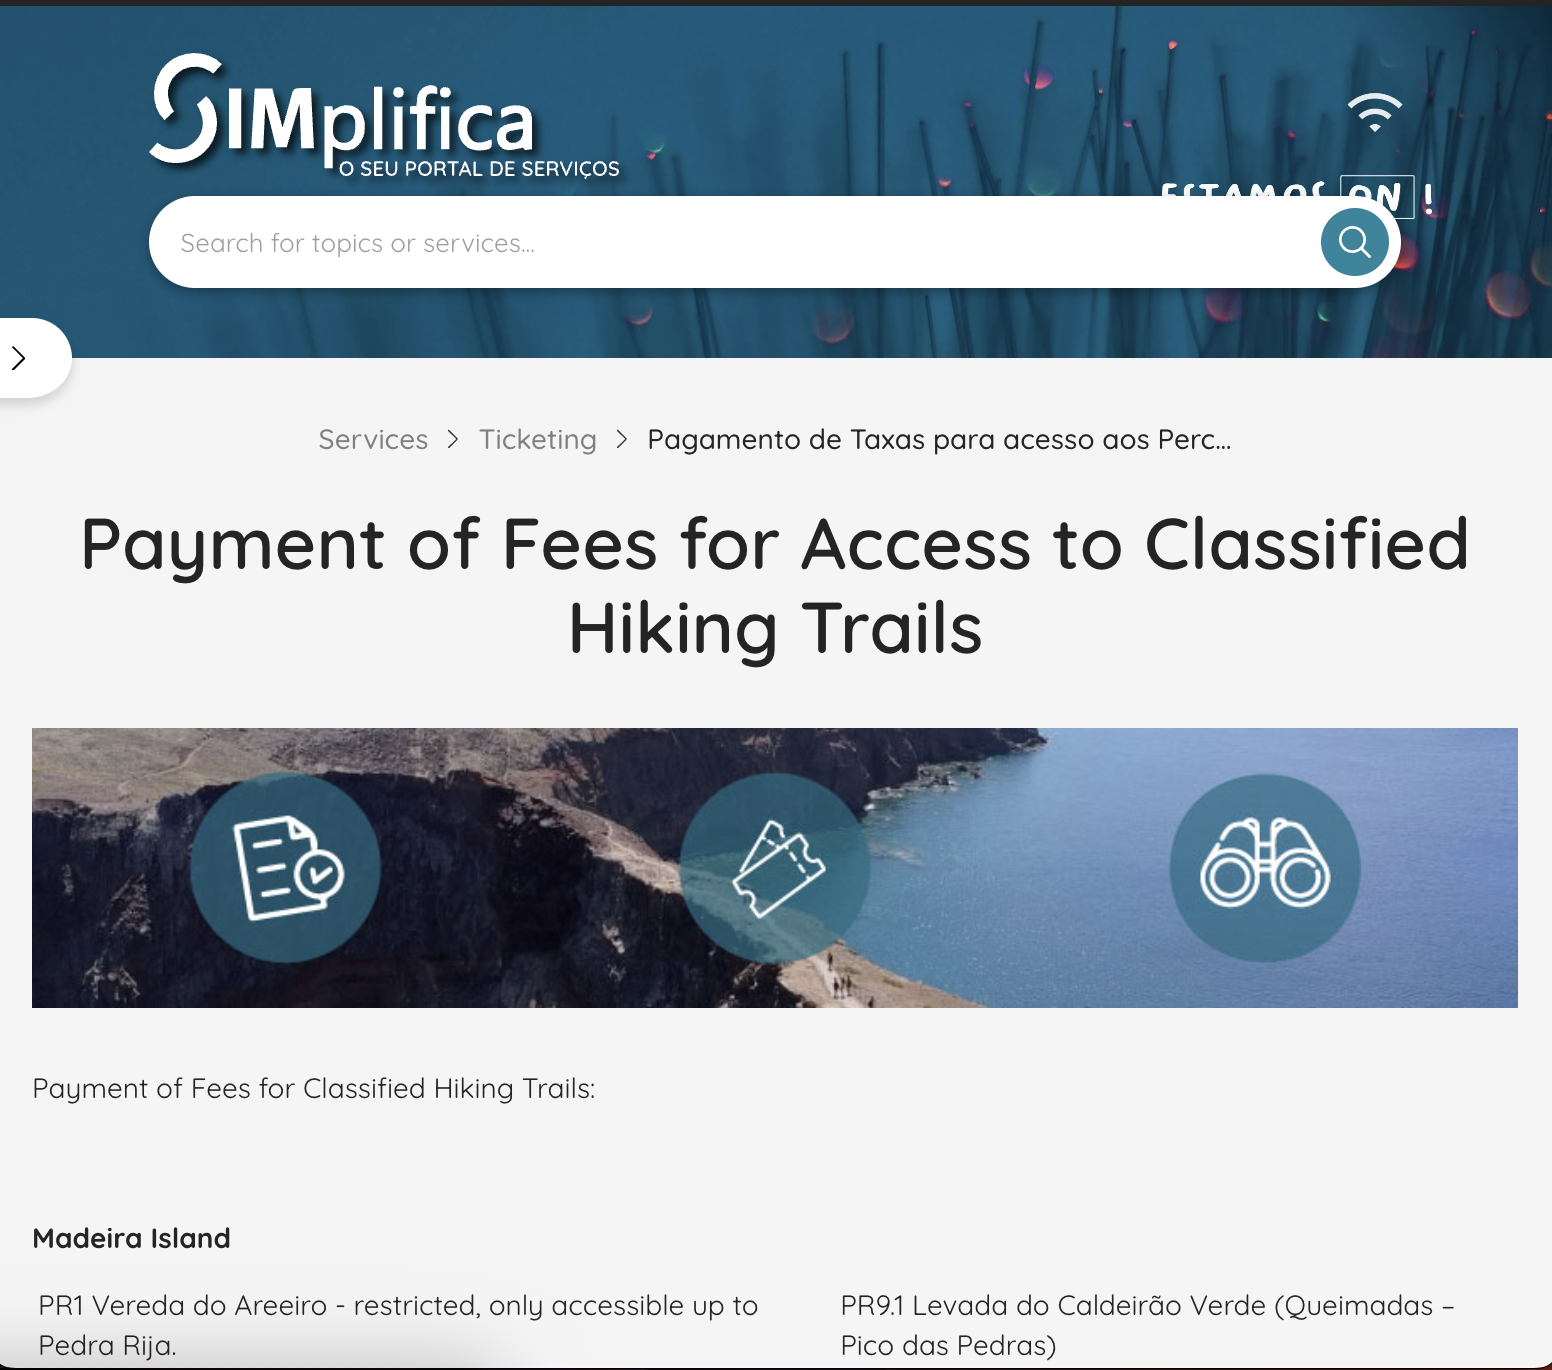
SIMplifica Portal Madeira
Step 2 (Optional): check the Availability of the PR trail you want
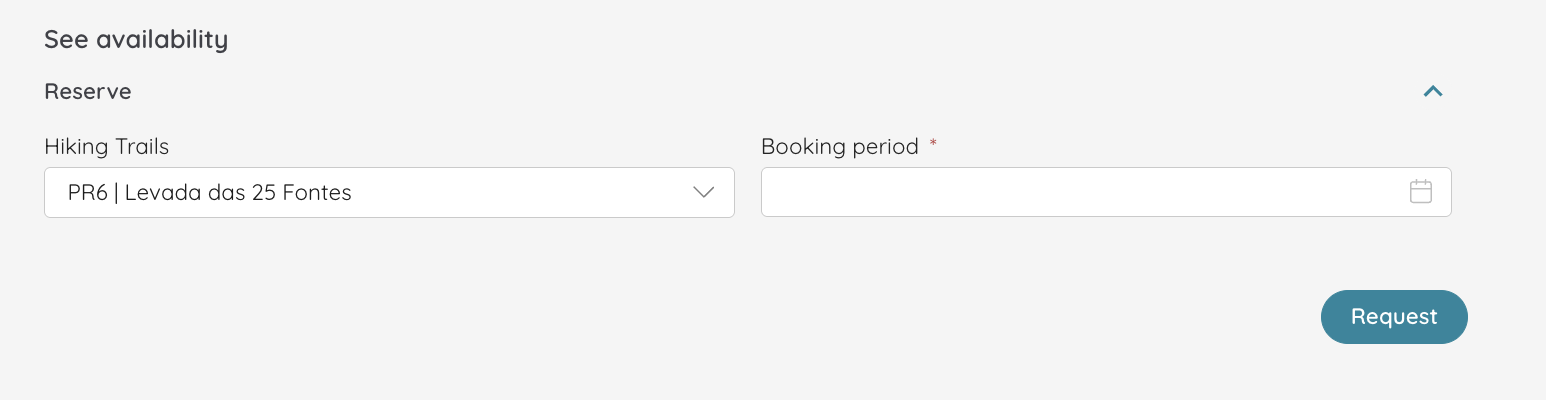
On that SIMplifica page, you’ll see a list of routes (PR numbers and names) in Madeira and Porto Santo. However, you need to scroll all the way down to the bottom of the page to check the availability of the trail (or trails) you want to trek. This is great for people who like to plan everything carefully.
Otherwise, you could click on ‘request’ and jump to Step 4 straight ahead.

Step 3 (Optional): See the entry time slots Available on your Preferred date
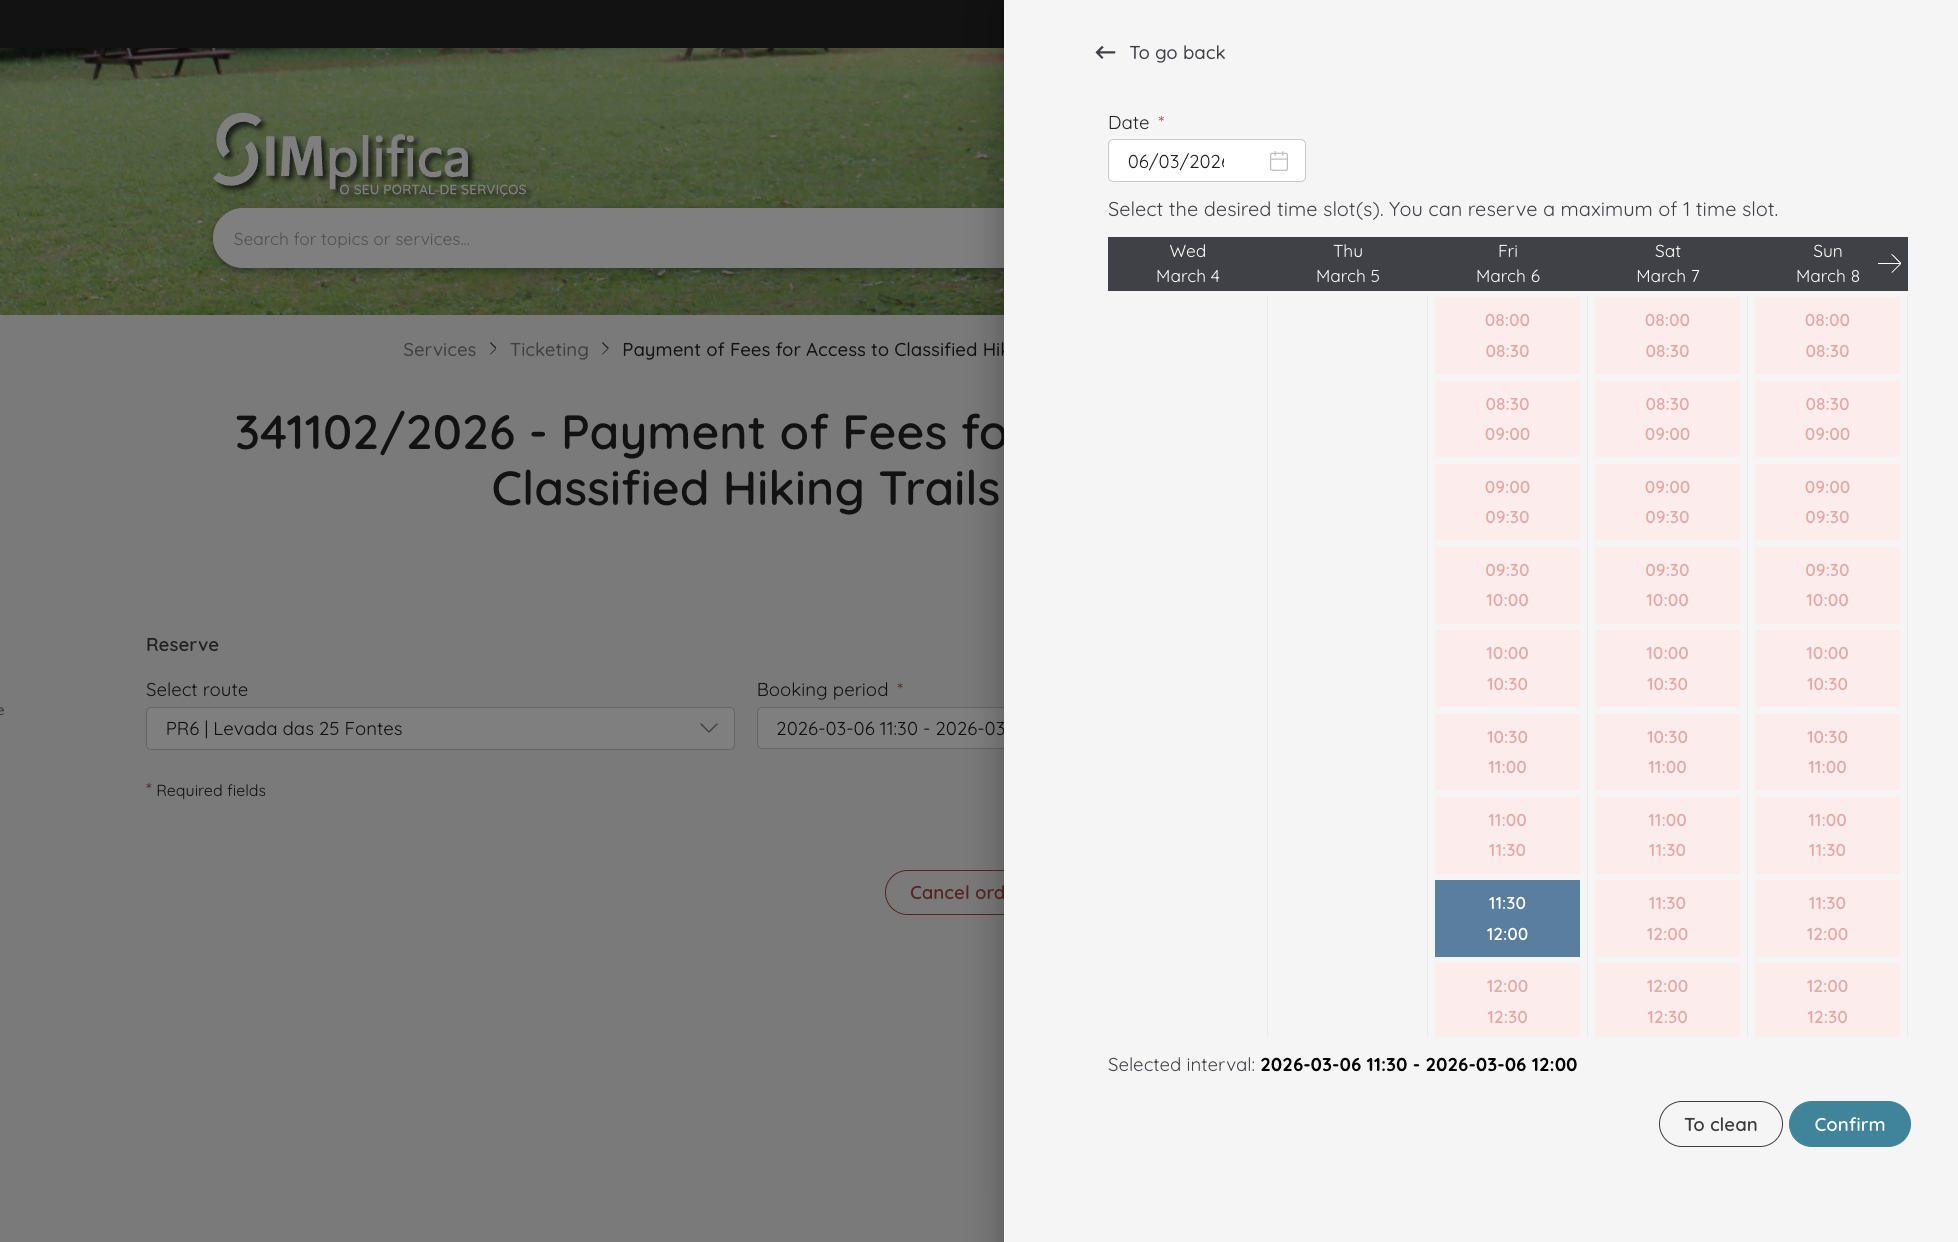
The system allocates capacity using 30-minute entry slots across the day. You choose the time slot that’s available and suits you. For example, if I click on “Levada das 25 Fontes” on the Hiking Trails menu, a second menu will appear:
On that second menu, click on the calendar icon. These are my options:
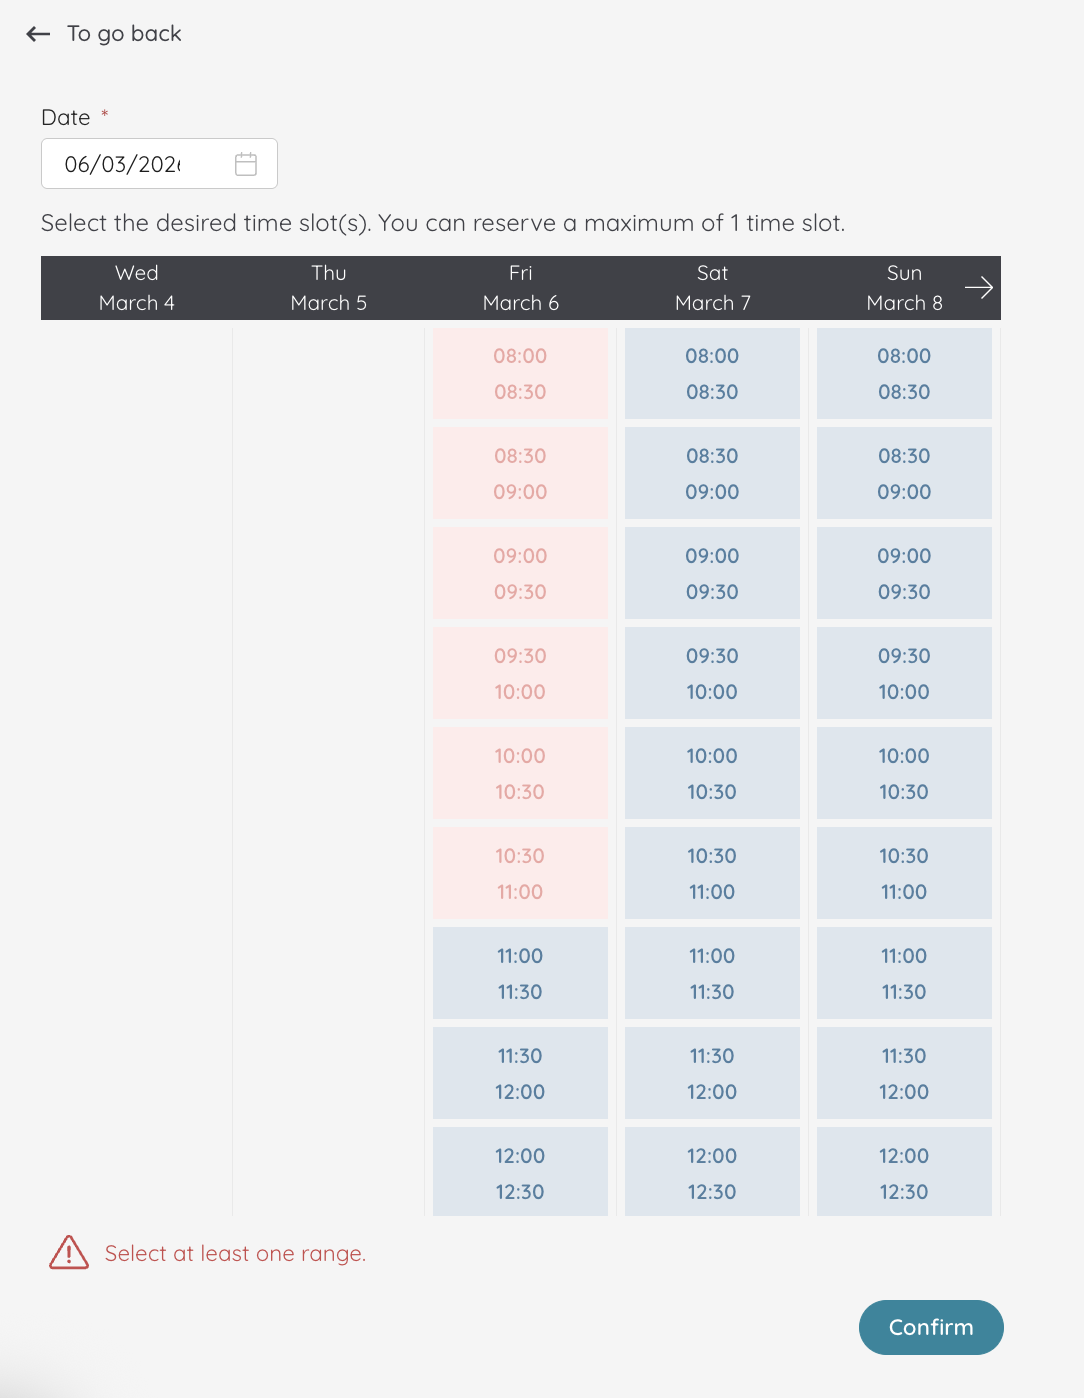
Once you choose the time slot, just press “confirm”. However, the page will ask you to confirm the reservation later on, which is why steps 2 and 3 are optional. This is just a way to make sure there’s availability on the dates and time slots you want.
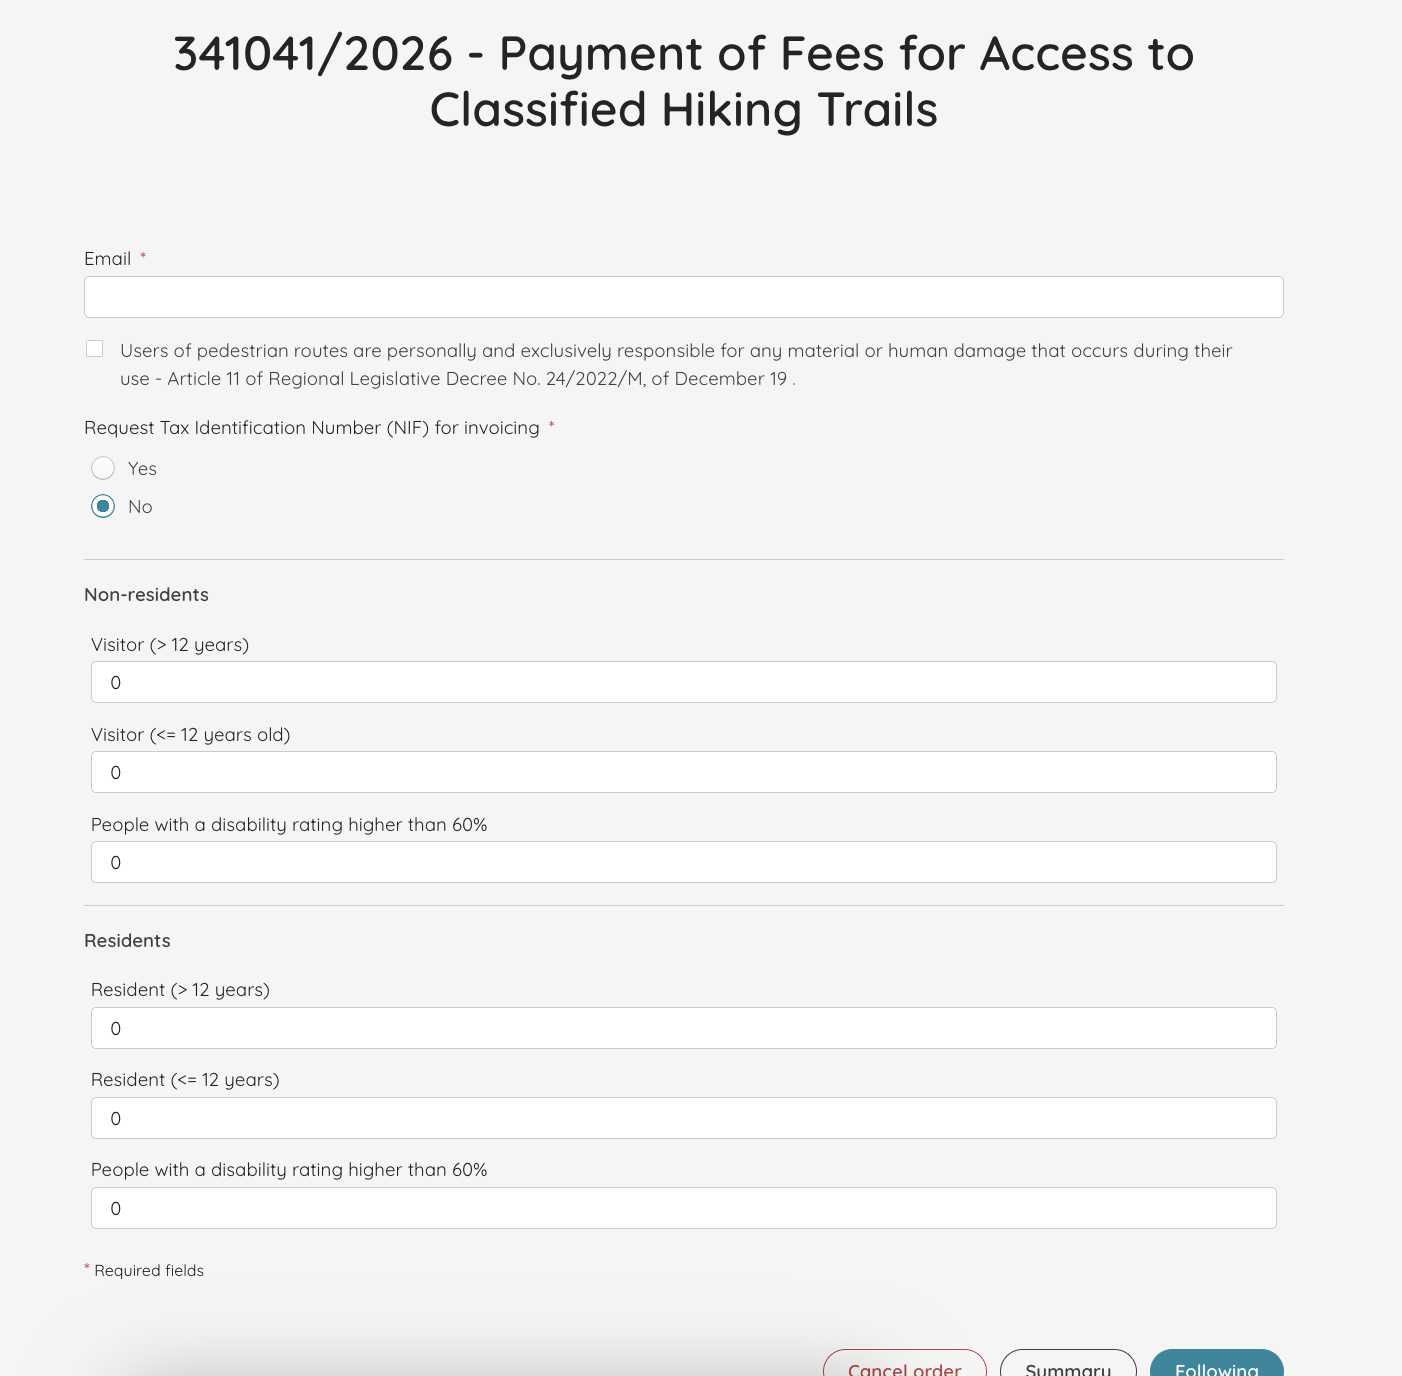
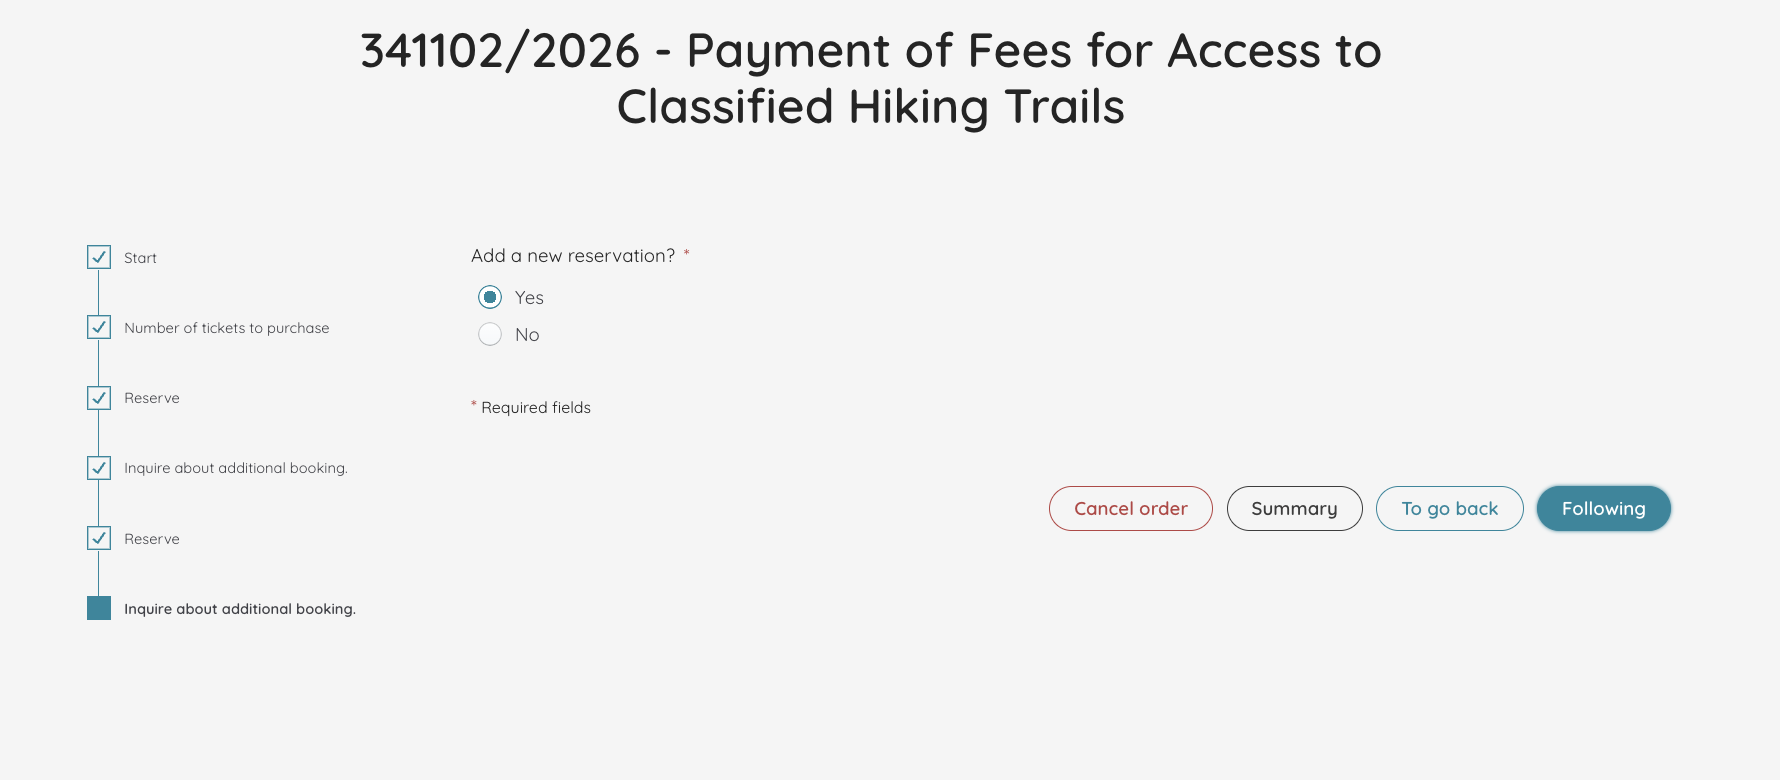
Step 4: Add visitor details
The next page asks you for your email (where you’ll receive the confirmation), as well as the number of tickets you wish to purchase. So, if you’re coming with your family, you only have to do this once per trail! Don’t forget to check the little disclaimer below the email field.
Once you press following, the website asks you again the dates and time slot you want to book. (Yes, this will appear even if you did steps 2 and 3. I told you it doesn’t really “simplify” much!)
So, once again, select the route and the time slot:
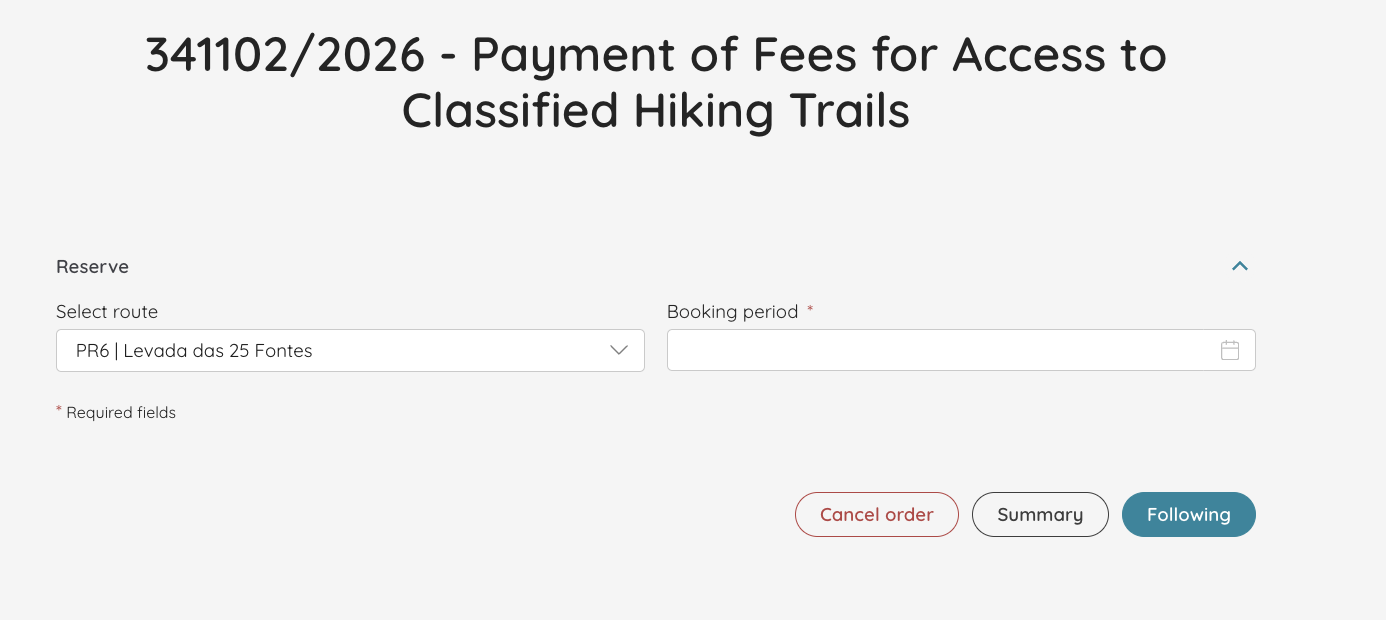
Again, I’m choosing “Levada das 25 de Fontes” and the time slot I wanted. Click on the calendar icon on the second “booking period” menu.
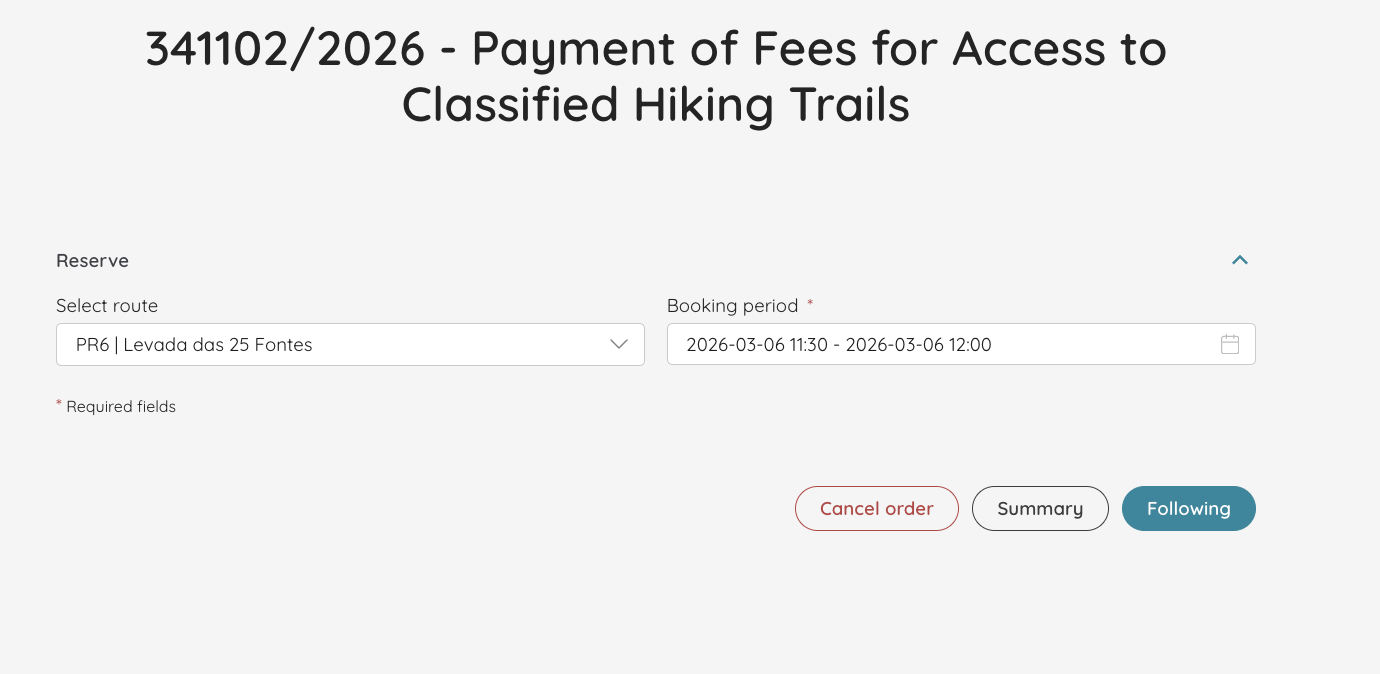
Now, click “confirm” and we’re all set for 25 Fontes:
Step 5: If you’re doing more than one PR, add them in the same booking
This is the part most people miss. Each trail costs 4.5€. However, there’s a daily fee of 9€ for 2-3 trails; a 3-day ticket of 22.5€ for two or more trails; and a 7-day ticket of 52.50€ for two or more bookings over the period of 7 days.
The 3 or 7-day tickets are not available to buy. Instead, you need to book all of your hikes and the website will find the most economical fee for you. So, if you’re planning on hiking several levadas, this is a crucial step for you.
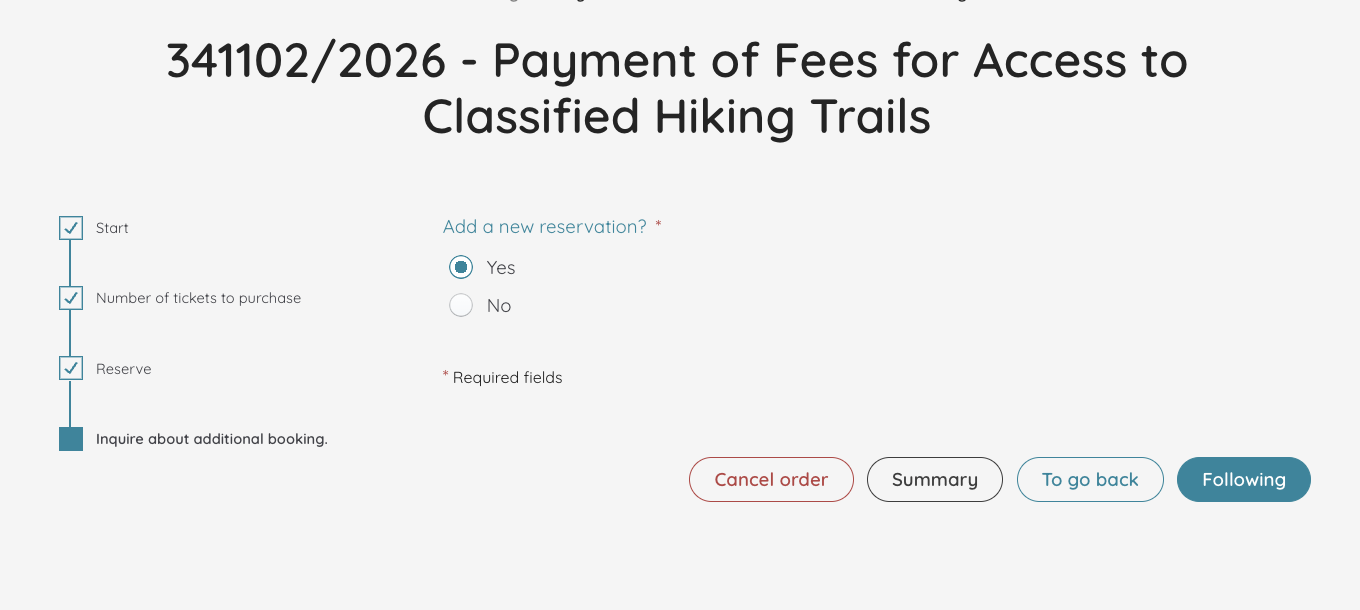
Once this page appears, click “yes”.
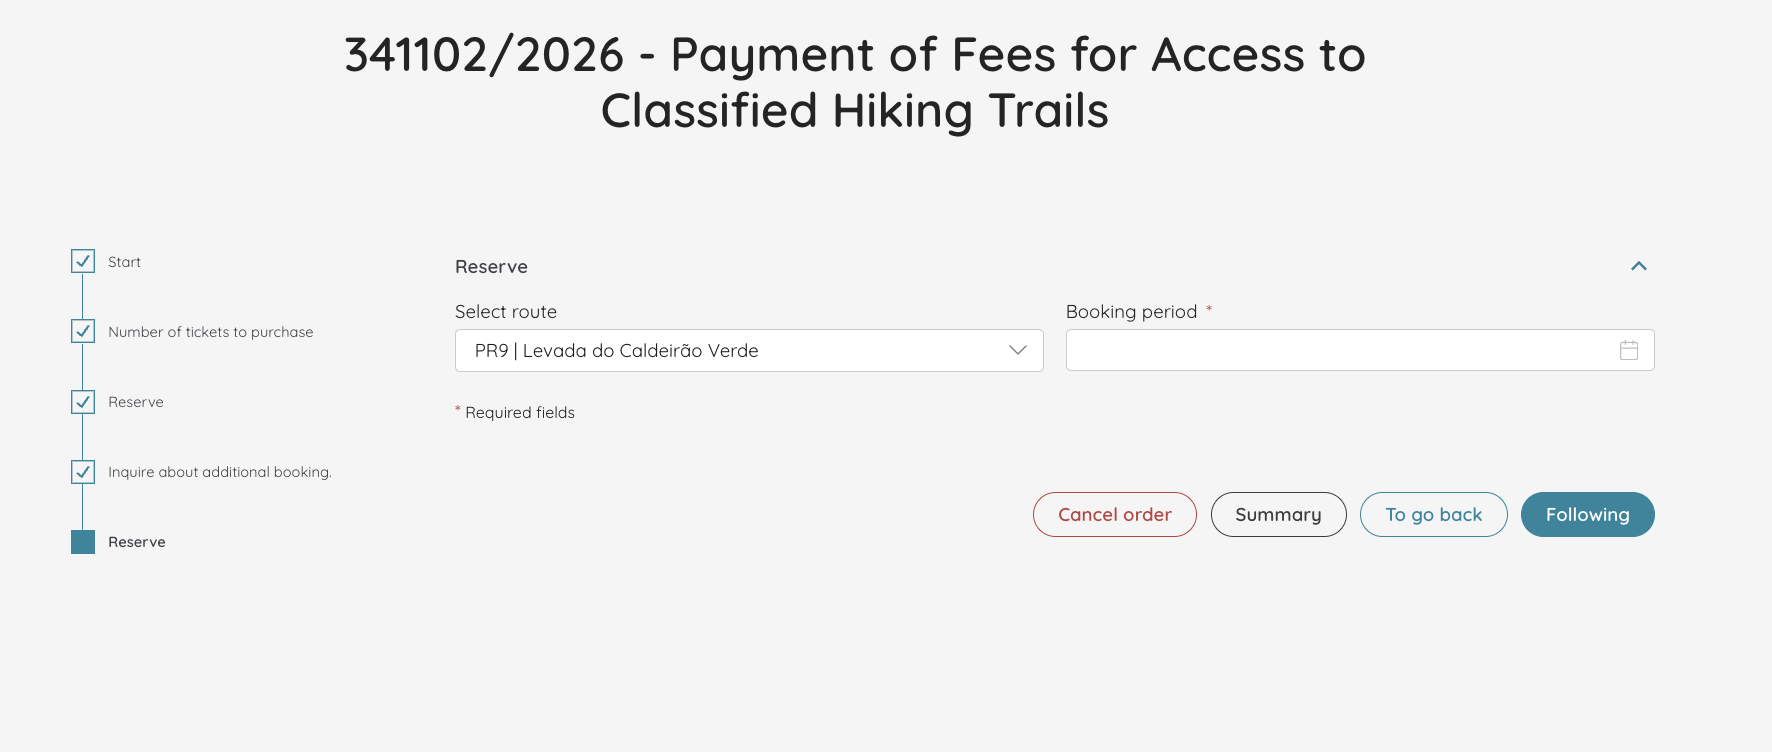
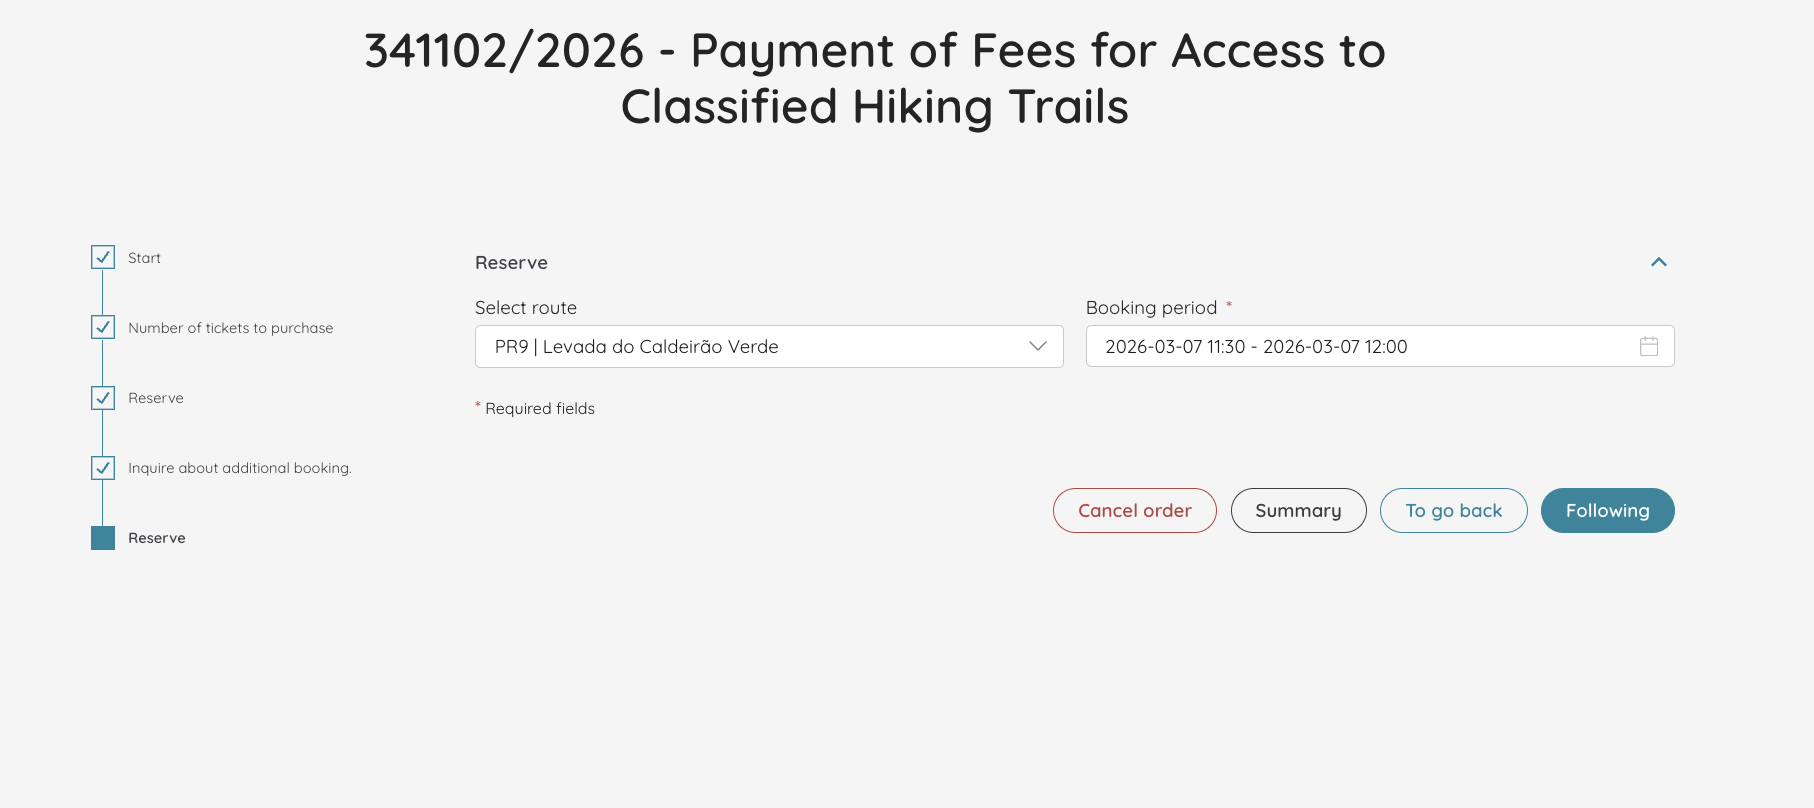
I’m now going to add Levada do Caldeirão Verde for the next day, and Vereda dos Balcões for the day after that.
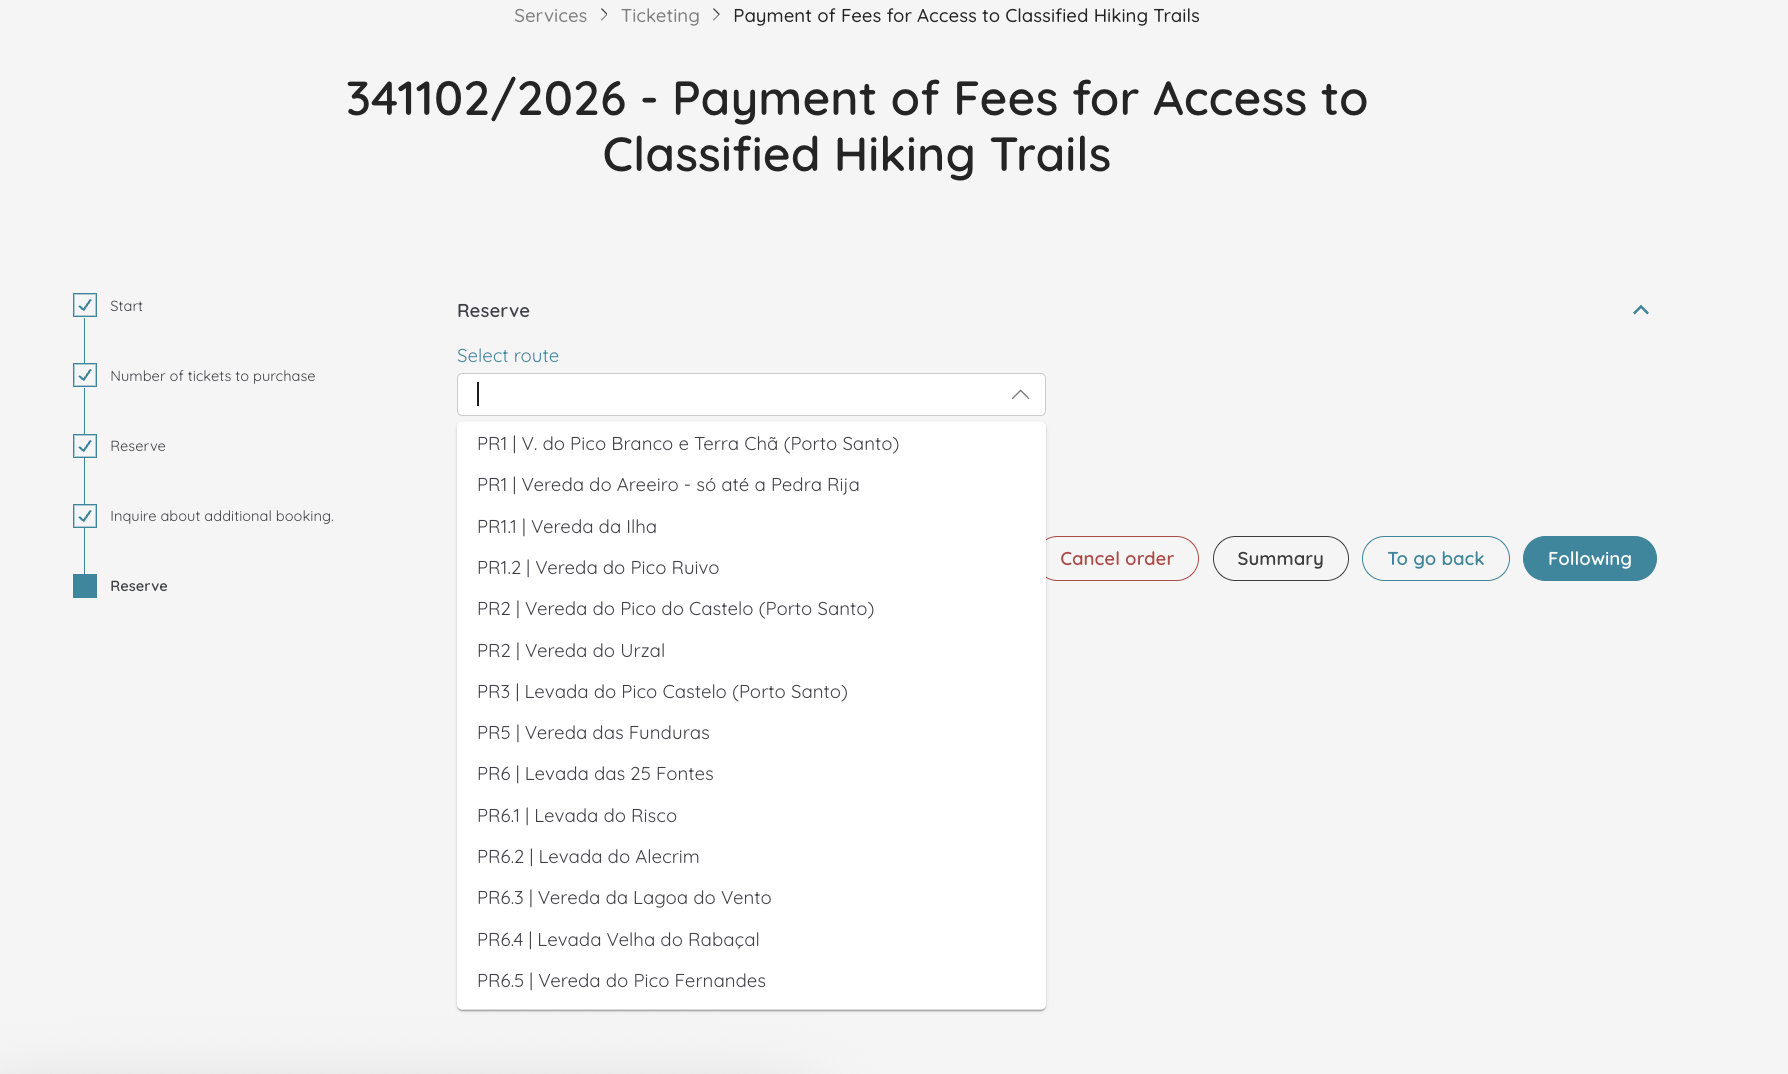
The process is the same, you always need to select the route and the time slot:
Again, I have the choice to add another reservation:
Again, choose the route and the booking period (you’ll be used to it at this point):

And since I’m finally done, I’m not adding any more reservations.

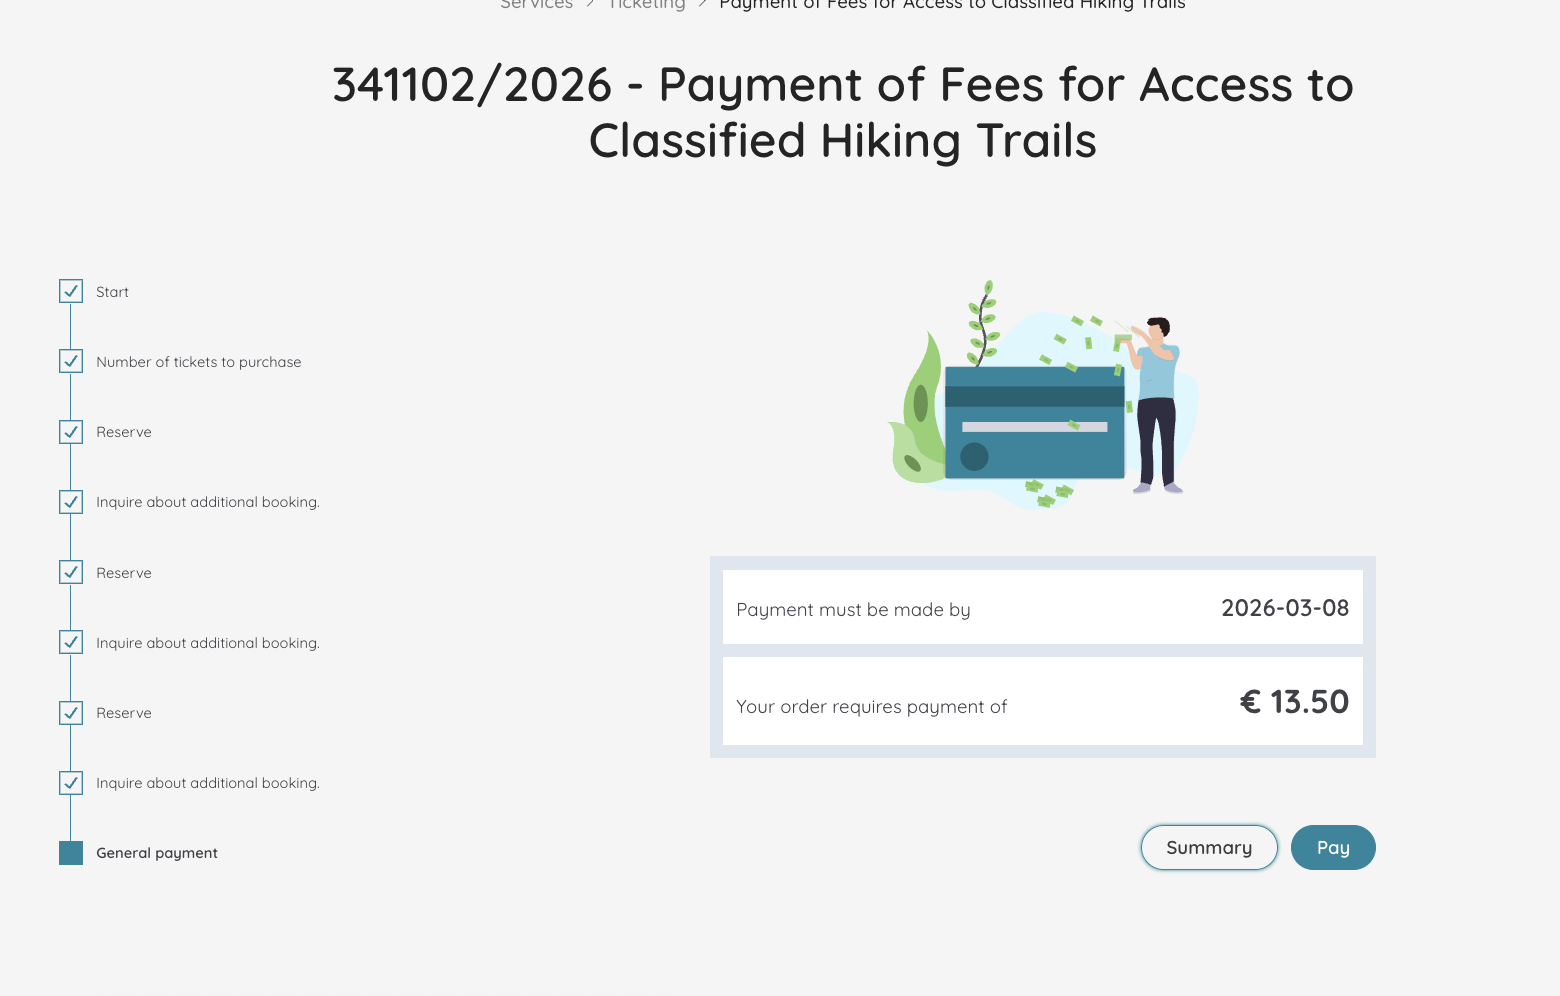
Step 6: Pay online
Now, it’s time to pay for the levadas in Madeira.
Because I booked for three different days, it’s not giving me the 9€ ticket (however, it’s not making me pay the 3 day ticket either, which would be more expensive). This is what the payment page looks like:
Once you click ‘pay’, the page immediately turns to Portuguese even though I was on the English website. You have three options to pay: Cartão débito/ crédito, Multibanco and MBWAY. The last two are only available in Portugal, so you need to choose payment by card.
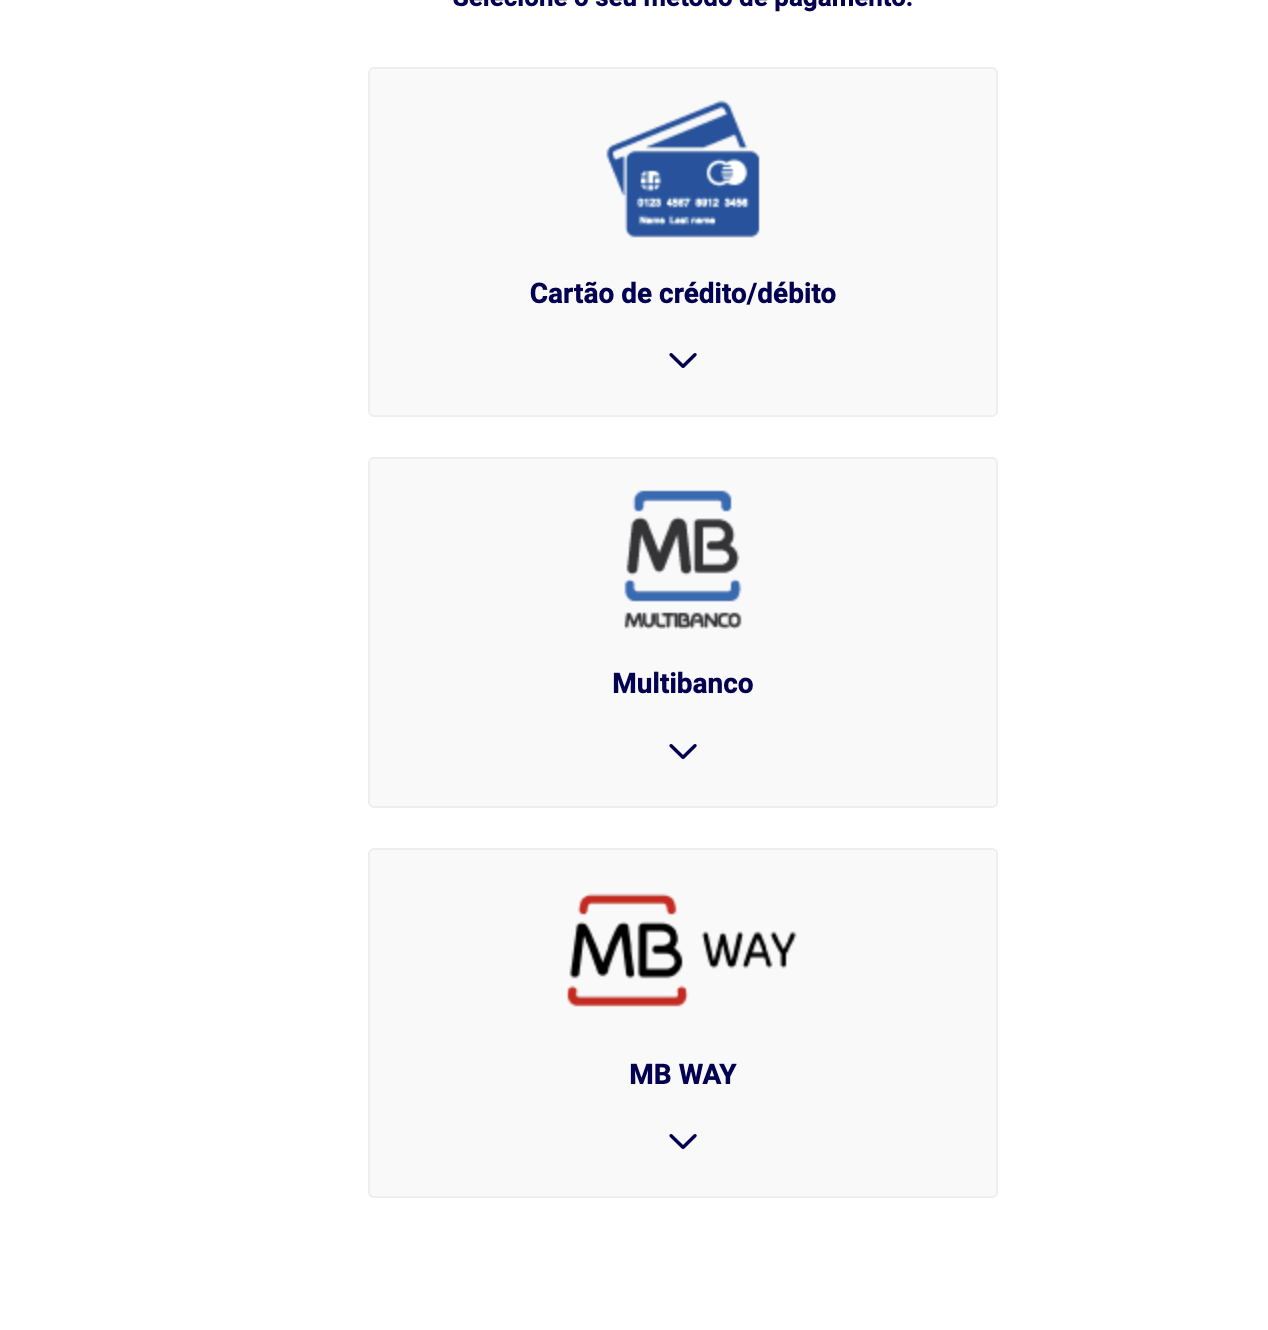
Click on “cartão de crédito/ débito” (Credit/debit card) and then click on the blue bar saying “seguinte” (meaning next). Another page will open where you should enter your card details. No other payment method is accepted – no Paypal, Apple Pay, Google Pay, or nothing of the sort.
And that’s it!
What Happens if you Don’t book or Pay for the Levadas in Madeira?
At the moment, this is an honour system. I have yet to see someone checking the tickets at the entrance. However, best not risk it. Do get your tickets before heading to the levadas.
If you haven’t bought it beforehand, there will be a QR code at the beginning of each trail so that you can go to the website and buy them. There are no personnel selling tickets at the sites, except for Cabo Girão.